


How long does it take to install a fibreglass pool?
One of the biggest benefits of a fibreglass pool is how quickly you can go from grass to swim! Your fibreglass pool can be installed in as little as 7 days.
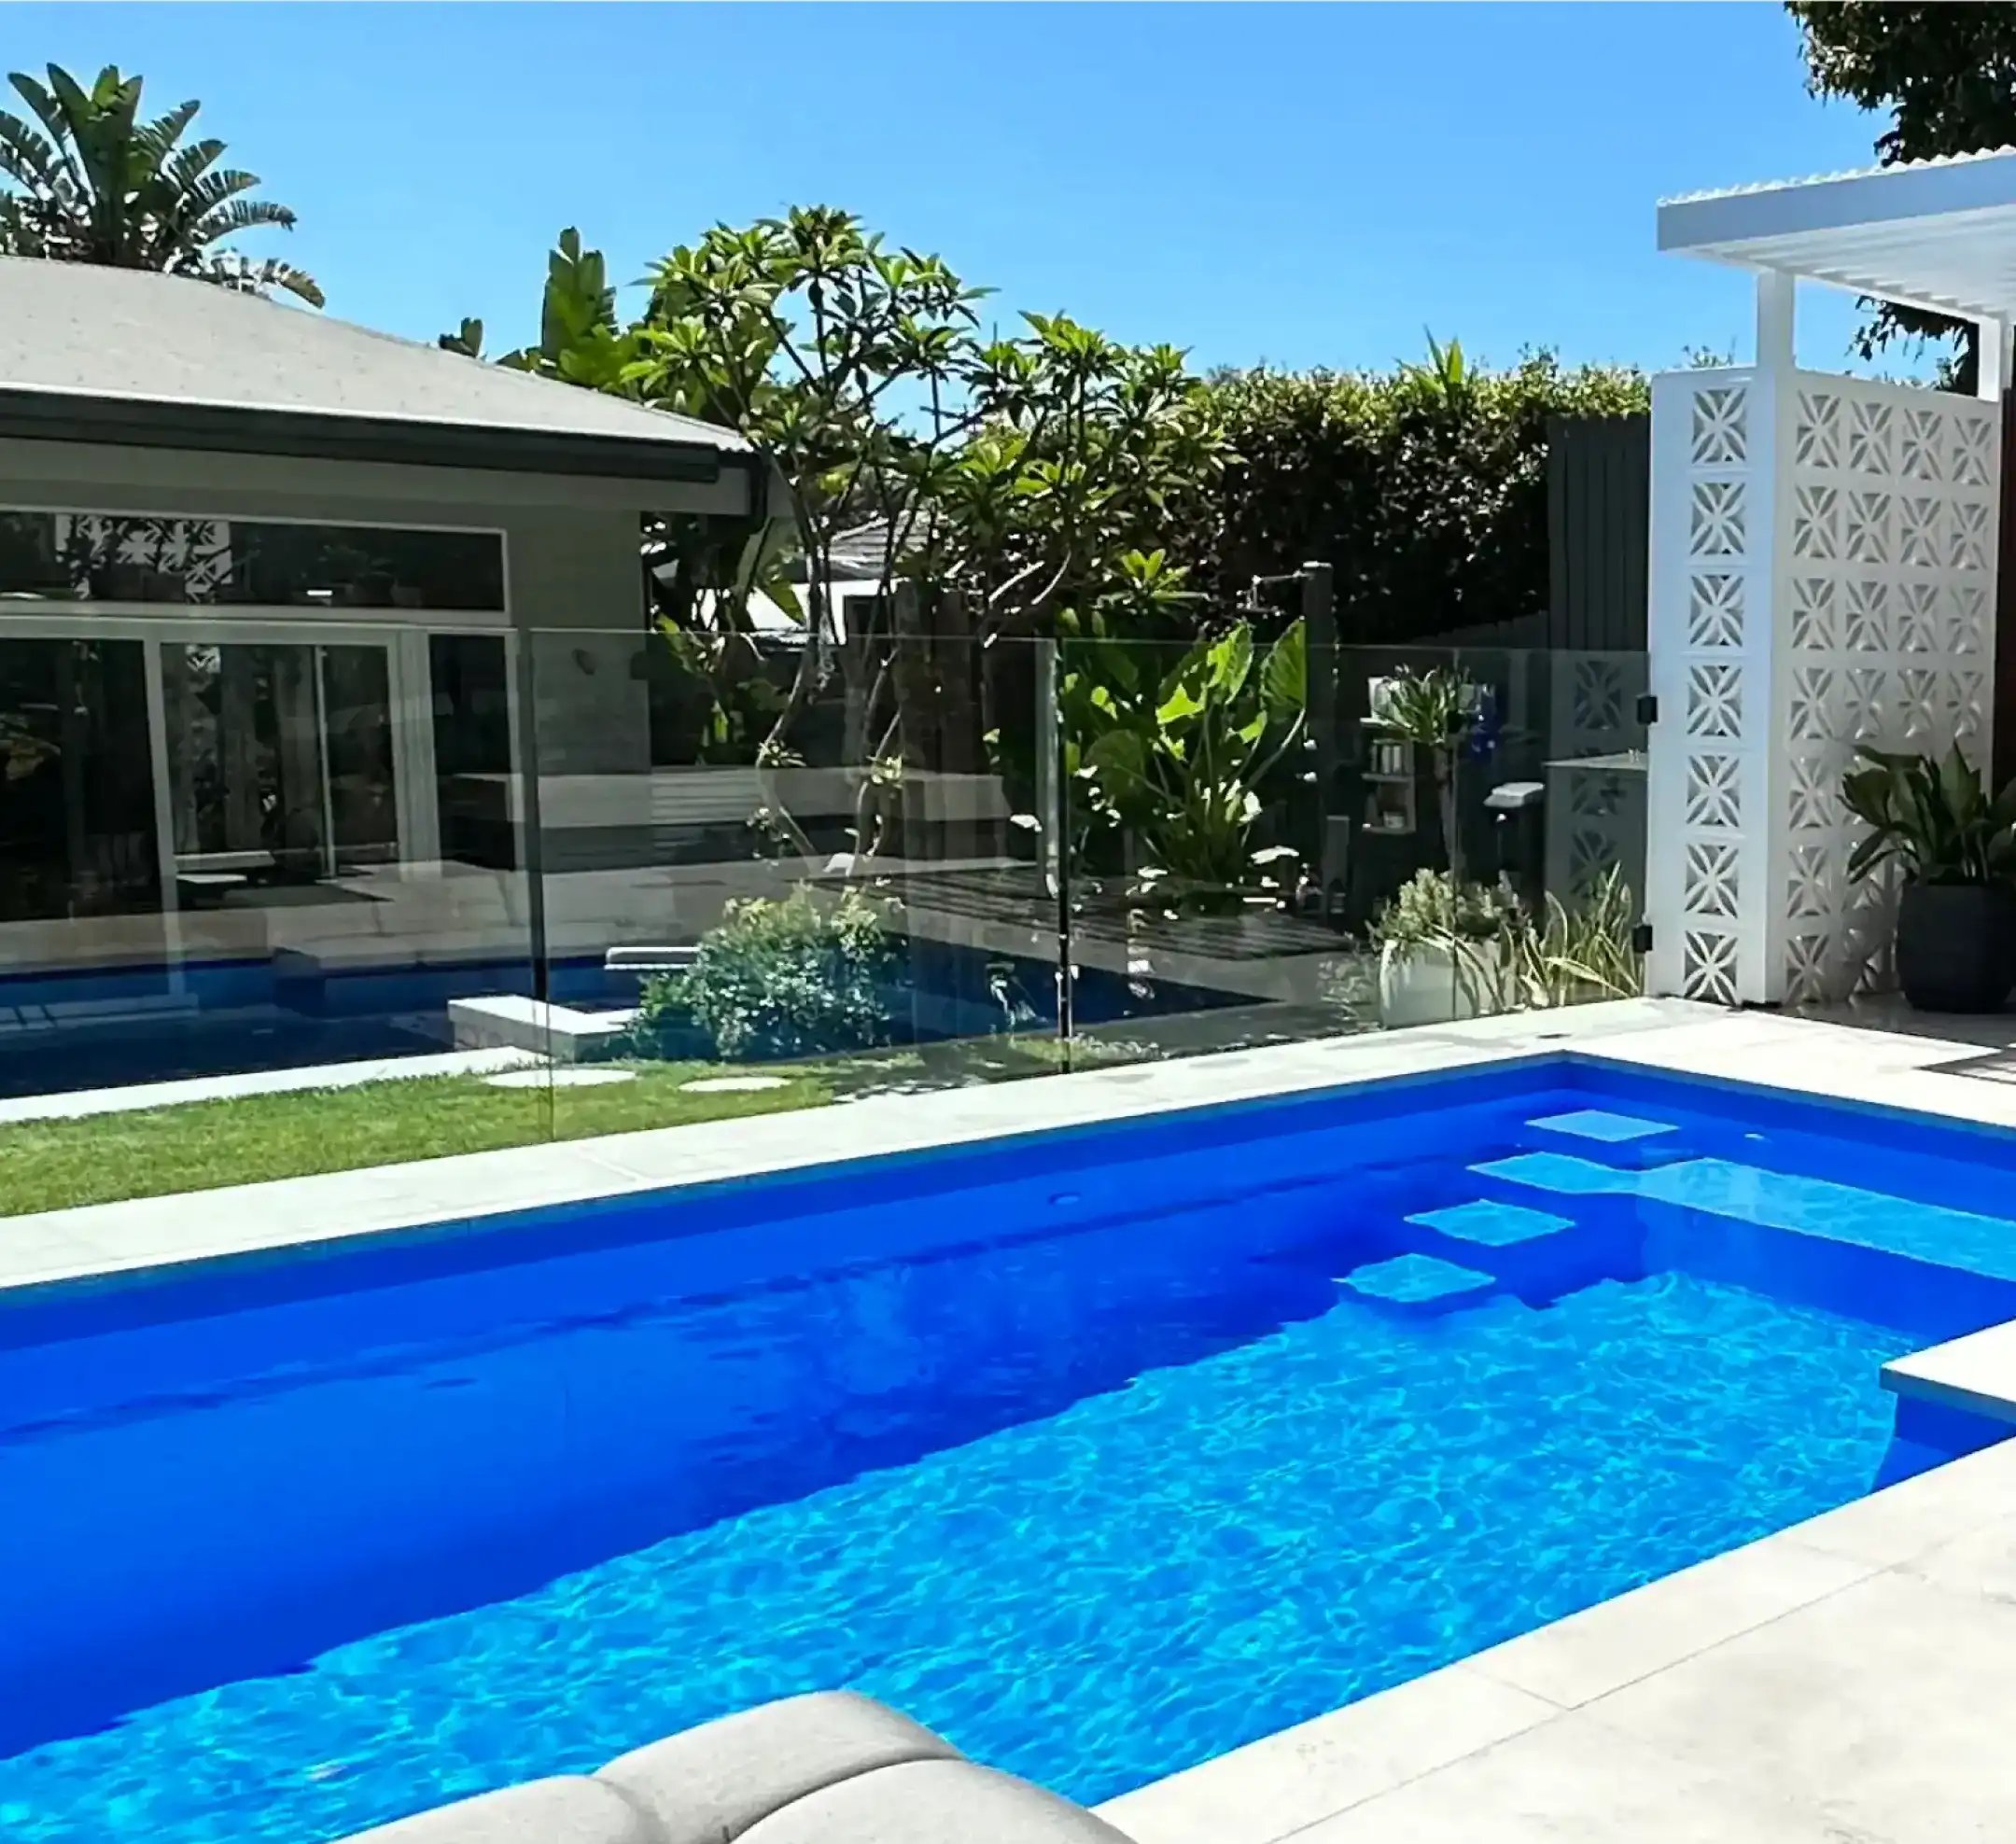
Where should I put my pool?
Leaves
The first step with a swimming pool installation is planning where to locate your pool. Ideally, you want the pool to be in an area away from overhanging trees, you don't want to be constantly scooping leaves out of the pool.
Sun
Think about the path of the sun during the day. Do you want there to be shade in your pool during the hottest parts of the day? Do you want full sun for most of the day?
These are questions that are important to think about early on, and everyone is different, so choose a space that will work well for you and your family.
Utilities
In this initial stage, you should identify any sewer lines or septic tanks that may cause issues and think about a wastewater connection point. Pool installation costs can increase if these issues are not identified at the start of the project.
Most importantly, make sure you check with your local council and follow all of the necessary steps for your permit.
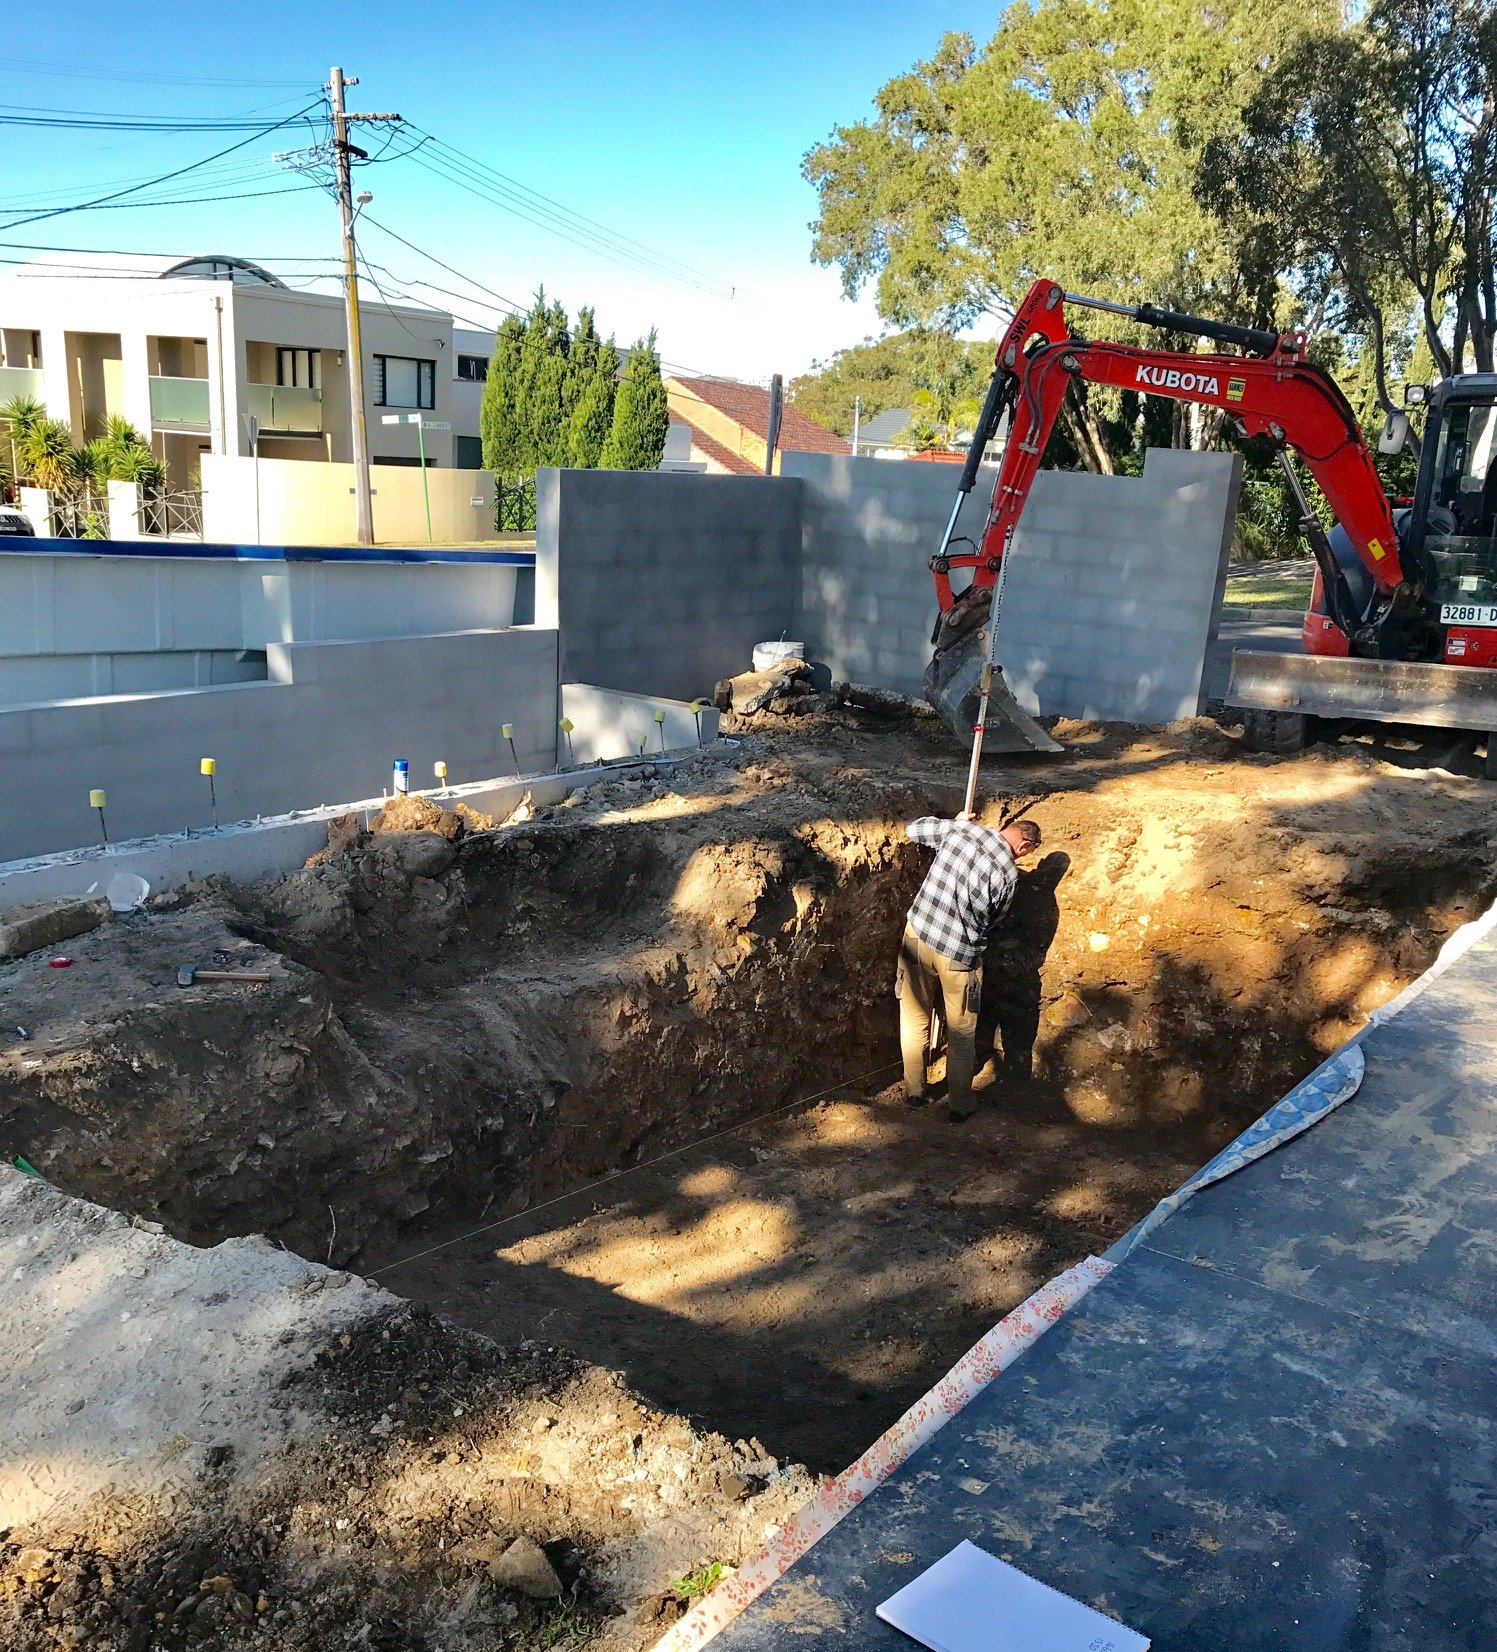
Excavation
.svg)
Once you have decided where to locate the pool the next step is the mark out process. Fibreglass pools must be level so it's important to clear the area and undertake any ground works needed to level out the site. The coping area needs to be level so allow extra space for this
Breaking ground
At last, your pool is getting closer! This is the exciting part but also be prepared for the mess! An excavator will be needed to dig the pool hole and the trenches for the plumbing to connect the filtration equipment. The hole will need to take in to account the pool shape and depth.
Base material

The bottom of the hole needs to be filled with a non-cohesive, porous material with a maximum aggregate size of 6mm. Usually crusher dust or sand is used for this base material. This part of the installation is really important as the bedding material must be level.
Delivery
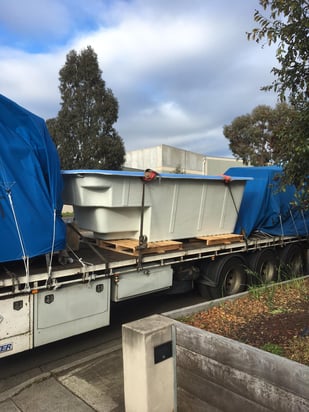
Your DIY pool kit arrives! We’re often told that this day is the most exciting part of the journey so far and when you’re neighbours will come out and watch the fun!
Your pool will be delivered to your kerb by a Hiab Crane ready for installation. You will be able to call your delivery driver ahead of time and discuss whether you want to have the pool dropped into the hole or whether you will arrange a larger crane. If you’re using an installer, then this part will be sorted for you.
Cranes can vary in price depending on the size so take some time to call around local companies to get an idea of this cost.
Plumbing and Electrical
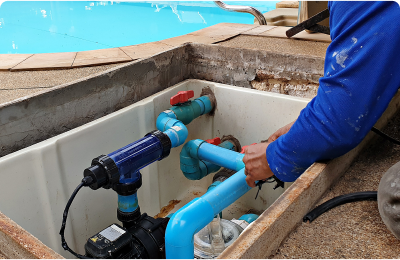
This process involves installing the pool's skimmer, return lines, and other components for the pool's filtration system. It is important to hire a qualified plumber and electrician to ensure that the installation is done safely and correctly. Swimming Pool Kits Direct supply everything needed for this part of your installation, we have included a plumbing kit in your package as standard.
Setting the pool and Backfilling
It’s time to get the pool in the hole. The crane will use a spreader bar to lift the pool and place it in the excavated hole. The pool hole is always larger than the pool and this ‘backfill zone’ between the sides of the hole and the pool shell will be filled. When the pool is level , the backfilling can take place at the same time as water is pumped in to the pool shell.
Bond Beam and Coping
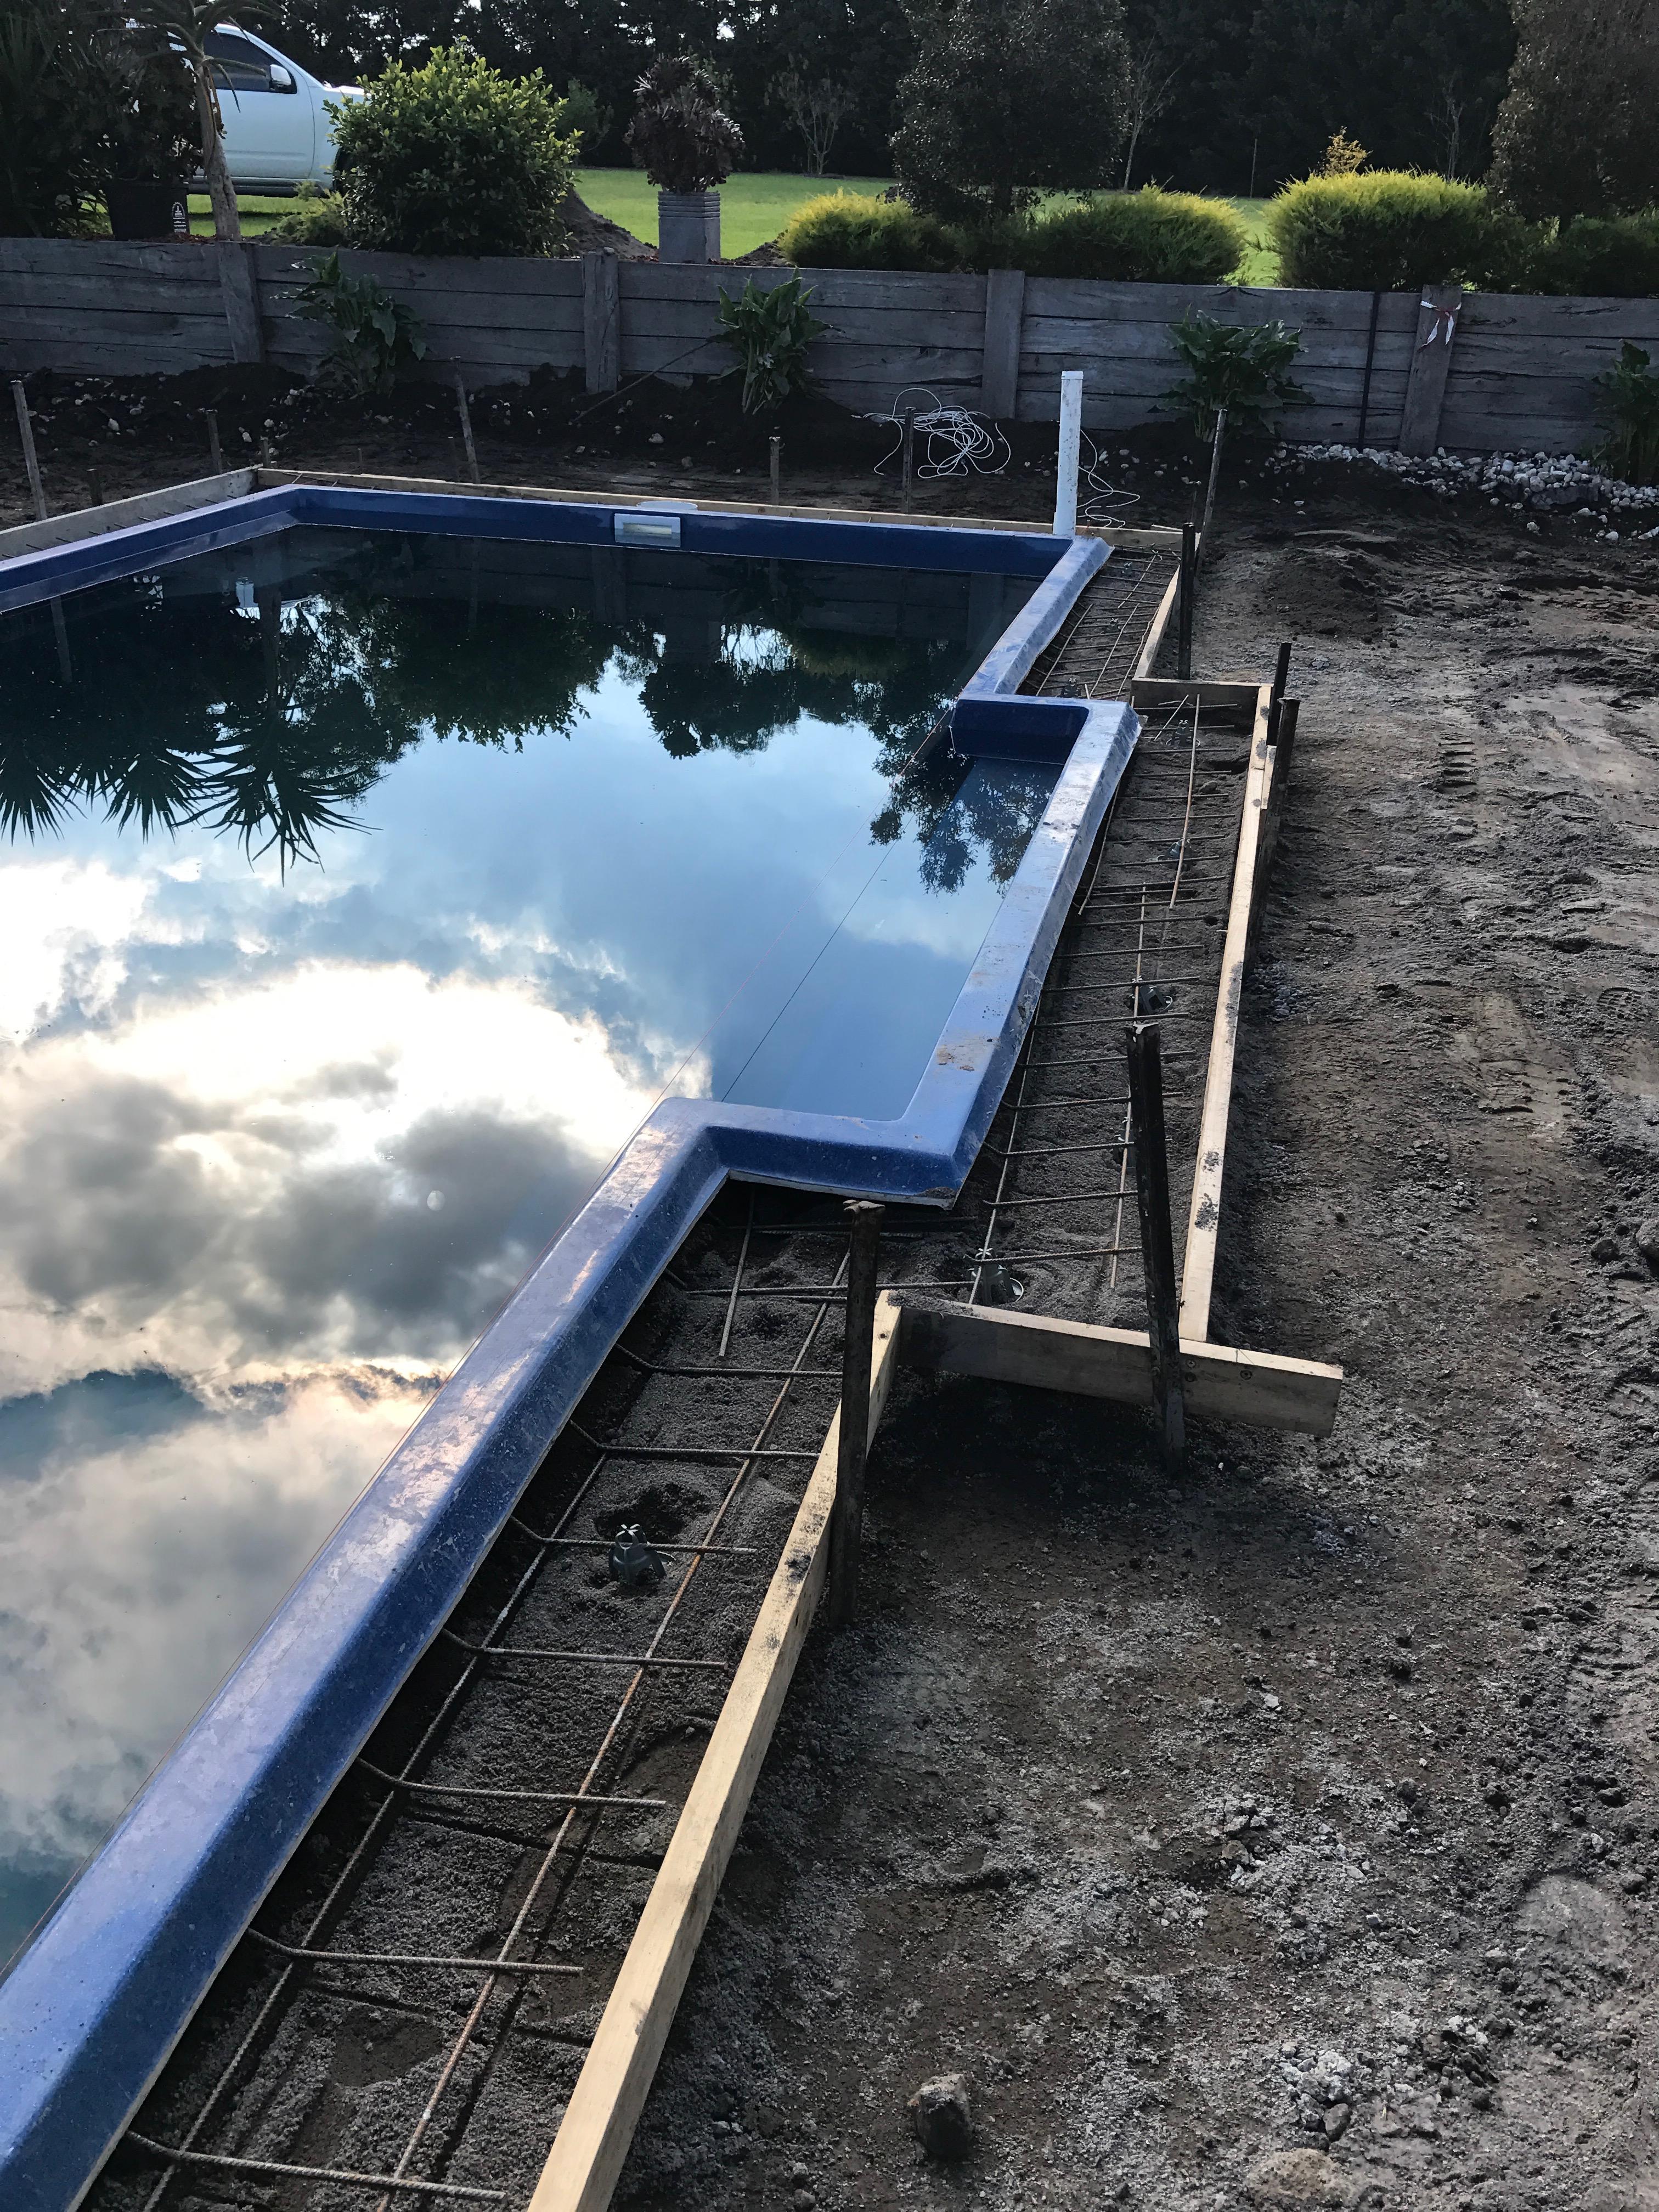
The bond beam sits around the perimeter of the pool and is concrete reinforced with steel rebar. It’s poured around the pool to provide extra support and the coping tiles sit on top.
The pool coping is what joins the pool shell to the surrounding patio or deck and it covers the top of the shell. You can use pavers, concrete or stone.
Set up

Now your pool is set up, filled and ready to go! At Swimming Pool Kits Direct we really care about after-sales service. We care about our customers' experience and we want you to be happily swimming in your pool. You can call us and ask for more info about your equipment or if there’s ever an issue – we’re here to help.
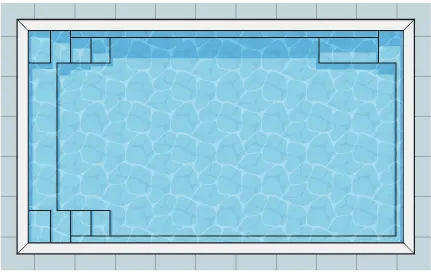
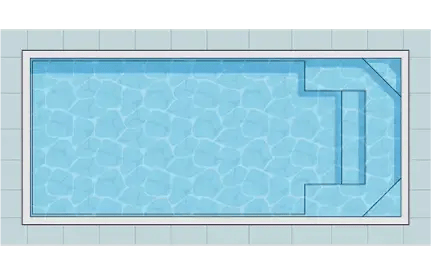
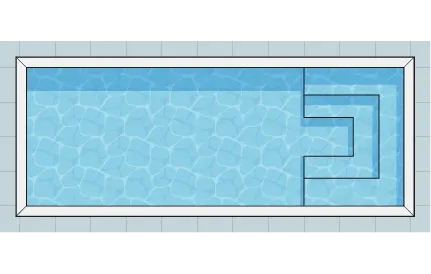
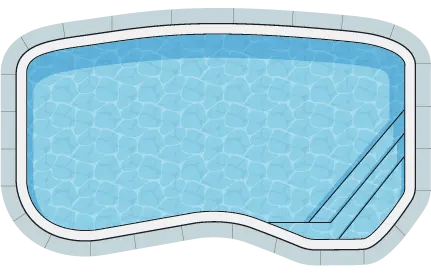
Explore Our
Range of Pools
From plunge pools for smaller spaces to family-sized pools
with all the bells and whistles, we've got you covered.
Explore our range of pools now and find the perfect one
for you and your family.
